
I know what you mean , getting the dash out was a real fanny of a job.
If you're a part time contortionist , I'm sure its really easy.
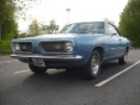
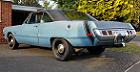
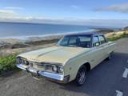
Dave's 72 Dart
Moderator: Moderators

As part of the overcharging issue i've replaced the Voltage regulator, Alternator and electronic ignition with brand new items.....all of which have not solved the problem. 
Last resort is to go deeper into the wiring and look for breakages/shorts (known to fool the regulator and lead to overcharging).
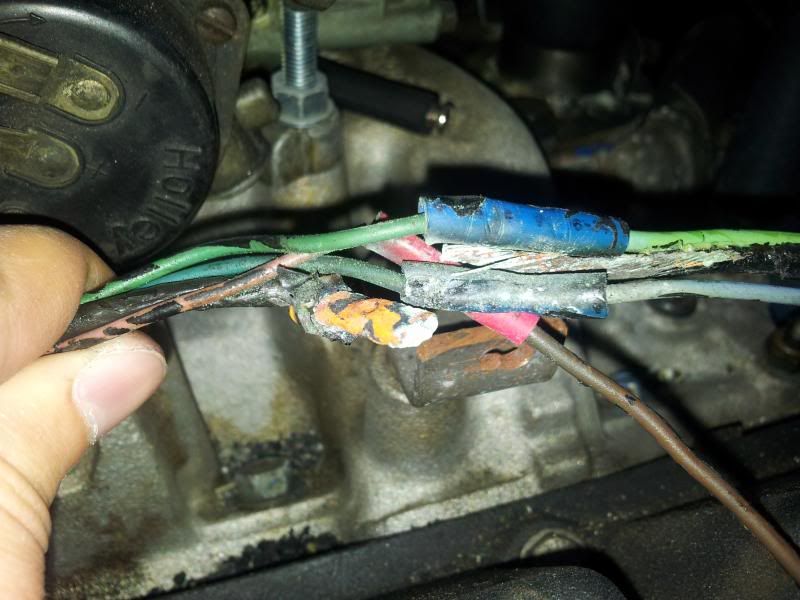
Unhooked the wiring from the alternator and started removing the corrugated plastic guard and electrical tape.
3 inches in and i find this.
Nasty looking scorch/burn marks on the wiring connector.........
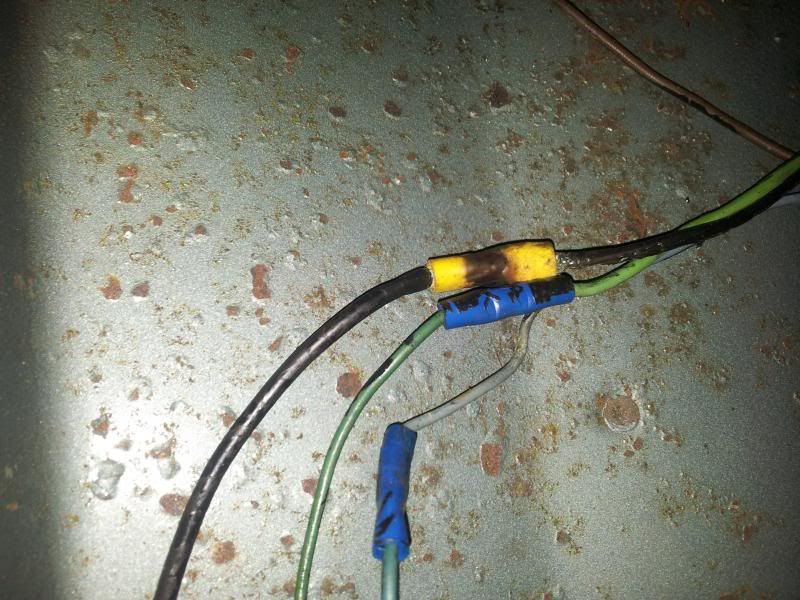
Move on 6 inches and find the first potential cause/issue.......Connector had become detatched from the wire due to corrosion, but due to electrical tape has kept touching. I expect its been arching badly which has lead to 2 inches of the wiring insulation being melted and it sticking to one of the field wires..............
All within three inches of the carb............Lucky the car didnt try to cook itself......
Will be taking the dash out again and finishing the MAD electrical install bypassing the ampmeter...........Hopefully this will solve the issue!
Last resort is to go deeper into the wiring and look for breakages/shorts (known to fool the regulator and lead to overcharging).
Unhooked the wiring from the alternator and started removing the corrugated plastic guard and electrical tape.
3 inches in and i find this.
Nasty looking scorch/burn marks on the wiring connector.........

Move on 6 inches and find the first potential cause/issue.......Connector had become detatched from the wire due to corrosion, but due to electrical tape has kept touching. I expect its been arching badly which has lead to 2 inches of the wiring insulation being melted and it sticking to one of the field wires..............
All within three inches of the carb............Lucky the car didnt try to cook itself......

Will be taking the dash out again and finishing the MAD electrical install bypassing the ampmeter...........Hopefully this will solve the issue!
Dave Tildesley.....MMA-081
72 Dodge Dart
73 Plymouth Duster - SOLD
I wanna go so FAST i think i'm going to DIE!..........Then i'll shift into second!
"My Car is a work in progress, Probably never gonna get finished, never gonna have the money to Bananarama!!"
72 Dodge Dart
73 Plymouth Duster - SOLD
I wanna go so FAST i think i'm going to DIE!..........Then i'll shift into second!
"My Car is a work in progress, Probably never gonna get finished, never gonna have the money to Bananarama!!"

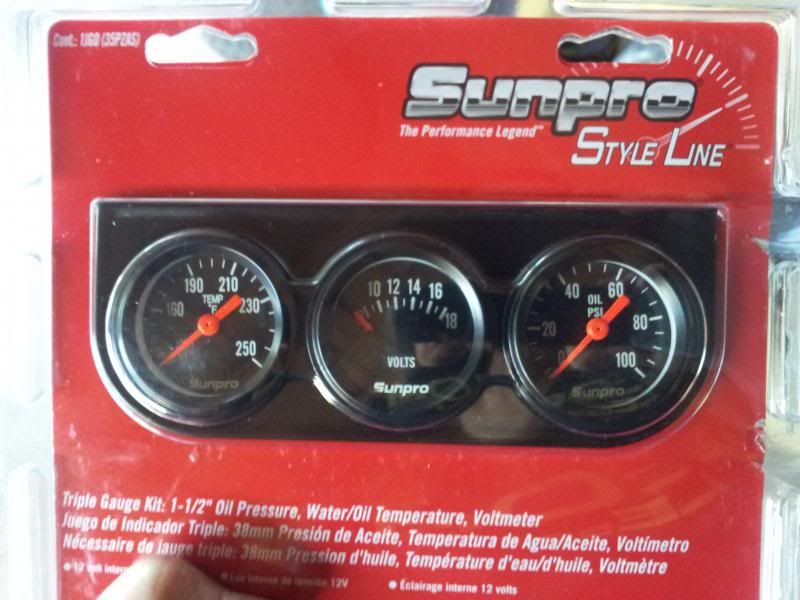
Having now sorted the overcharging issue and carrying out the MAD Electical Ammeter bypass i decided i'd like a voltmeter inside the car so i can keep an eye on whats happening whilst driving!
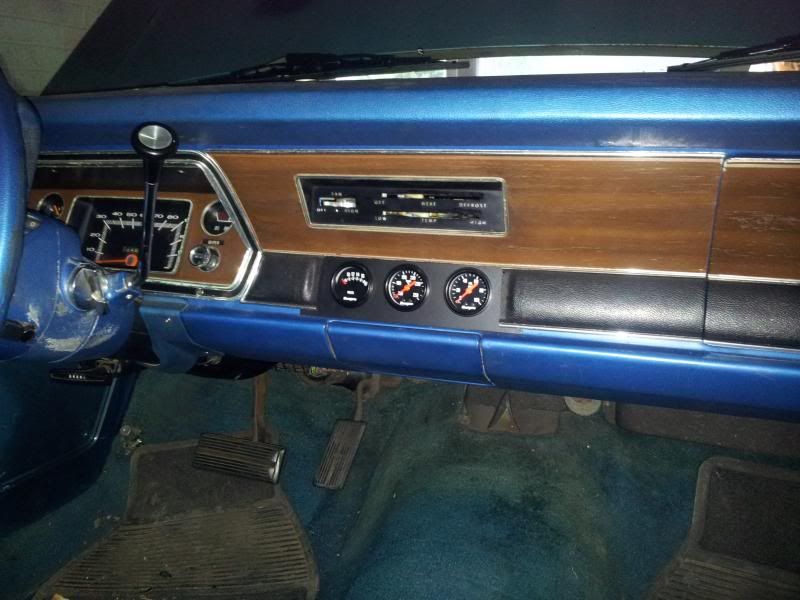
One of the common aftermarket 'factory look' upgrades is to remove the ammeter gauge from the dash and replace it with a voltmeter. This way the dash looks stock and you get the voltage info.
So lots of FABO reccomend grabbing the Sunpro Styleline 1.5" gauge, tearing it down slotting it in. There is only minor modification to the back of the dash wiring panel and going by the post installed look, it really does look like its meant to be there as factory.
So grabbed a triple gauge pack from the states for the voltmeter......All this was a whole £30 delivered from Amazon USA:
Already had the dash out, but as i'd spent quite a while earlier doing a teardown, clean and rebuild................I couldnt quite bring myself to break the 42 year old factory original dash and mod it!
So.............. I decided to install the gauges as per the instructions.
Problem is that at 1.5" and positioned under the dash, they are hard to glance and see whilst sat in the drivers seat.
One of the previous yank owners had bodged the dash for an aftermarket radio install......
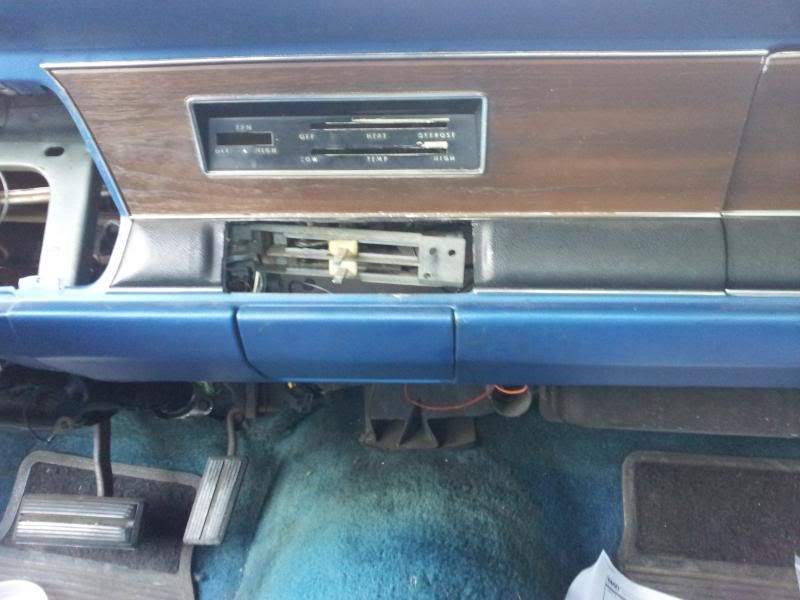
Ugly cutting of both metal and the plastic facing panel...........My main gripe is you can see all the wiring running behind. Kinda lets the sunfaded, ripped and cracked interior down!
As i've got mint condition dash panels, radio etc to fit when i do the proper resto, i decided i wanted something to bridge the gap and tidy it up whilst i save money.
The Sunpro gauge holder looked good, but due to my ideas was not really fit for purpose.
I found a company on Ebay that would cut 2mm thk mild steel to size, so gave them the dims and a whole £9 later had two identical plates :-
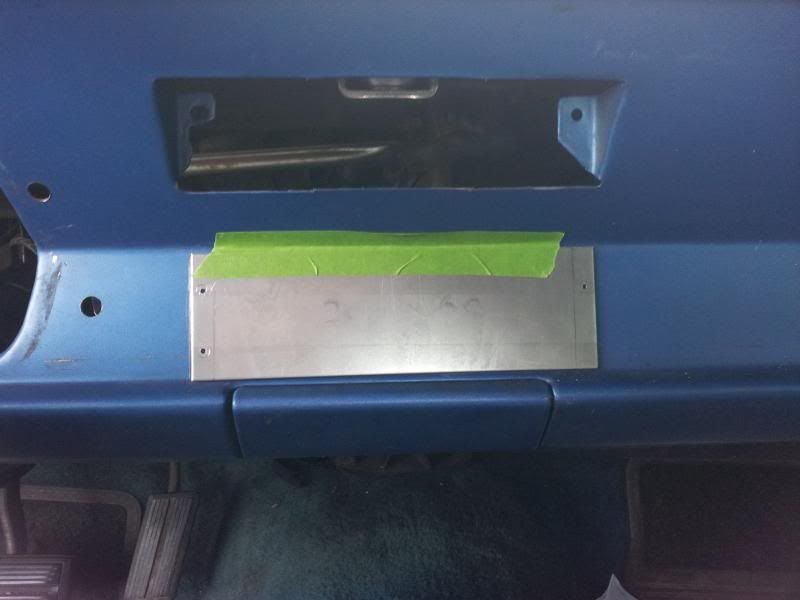
Measured up the appeture onto the plate and spaced the holes out within it. Cleaned up the edges of the dash and front plastic panel and located it in the dash!
Original panels have a black line running on the underside, so decided to paint the gauge pod holder matt black. This was in hope that the panel will disguise itself a bit when in place and not stand out so much.
Installed it this weekend.....Quite happy at the outcome for a £39 temporary tidying solution.......
One of the common aftermarket 'factory look' upgrades is to remove the ammeter gauge from the dash and replace it with a voltmeter. This way the dash looks stock and you get the voltage info.
So lots of FABO reccomend grabbing the Sunpro Styleline 1.5" gauge, tearing it down slotting it in. There is only minor modification to the back of the dash wiring panel and going by the post installed look, it really does look like its meant to be there as factory.
So grabbed a triple gauge pack from the states for the voltmeter......All this was a whole £30 delivered from Amazon USA:

Already had the dash out, but as i'd spent quite a while earlier doing a teardown, clean and rebuild................I couldnt quite bring myself to break the 42 year old factory original dash and mod it!
So.............. I decided to install the gauges as per the instructions.
Problem is that at 1.5" and positioned under the dash, they are hard to glance and see whilst sat in the drivers seat.
One of the previous yank owners had bodged the dash for an aftermarket radio install......

Ugly cutting of both metal and the plastic facing panel...........My main gripe is you can see all the wiring running behind. Kinda lets the sunfaded, ripped and cracked interior down!
As i've got mint condition dash panels, radio etc to fit when i do the proper resto, i decided i wanted something to bridge the gap and tidy it up whilst i save money.
The Sunpro gauge holder looked good, but due to my ideas was not really fit for purpose.
I found a company on Ebay that would cut 2mm thk mild steel to size, so gave them the dims and a whole £9 later had two identical plates :-

Measured up the appeture onto the plate and spaced the holes out within it. Cleaned up the edges of the dash and front plastic panel and located it in the dash!
Original panels have a black line running on the underside, so decided to paint the gauge pod holder matt black. This was in hope that the panel will disguise itself a bit when in place and not stand out so much.
Installed it this weekend.....Quite happy at the outcome for a £39 temporary tidying solution.......

Dave Tildesley.....MMA-081
72 Dodge Dart
73 Plymouth Duster - SOLD
I wanna go so FAST i think i'm going to DIE!..........Then i'll shift into second!
"My Car is a work in progress, Probably never gonna get finished, never gonna have the money to Bananarama!!"
72 Dodge Dart
73 Plymouth Duster - SOLD
I wanna go so FAST i think i'm going to DIE!..........Then i'll shift into second!
"My Car is a work in progress, Probably never gonna get finished, never gonna have the money to Bananarama!!"

That was the original aim..........but unfortunately not this year!Carl wrote:Will it be ready for the Nats?
Dave Tildesley.....MMA-081
72 Dodge Dart
73 Plymouth Duster - SOLD
I wanna go so FAST i think i'm going to DIE!..........Then i'll shift into second!
"My Car is a work in progress, Probably never gonna get finished, never gonna have the money to Bananarama!!"
72 Dodge Dart
73 Plymouth Duster - SOLD
I wanna go so FAST i think i'm going to DIE!..........Then i'll shift into second!
"My Car is a work in progress, Probably never gonna get finished, never gonna have the money to Bananarama!!"