Rob & Stu's 69 Sport Satellite

Use this forum for all your builds in progress.

Moderator: Moderators

Post Reply
Anonymous

Post by Anonymous »

Hi Twins,

Lovely work going on there dudes!!! :thumbright: :thumbright: :thumbright:
Wanna swap a 'steel crank' 1969 383 engine for that 'pooer' cast crank 440?
Betta mpg and period correct!!! :D

Best wishes and good work is always a pleasure to see!!!

Bacca.
User avatar
RobTwin
Posts: 13878
Joined: Thu Nov 24, 05 5:05 pm
Location: just north of Watford

Post by RobTwin »

Thanks for the offer Bacca, know where youre coming from re 'period correct' - Bananarama! had been a 383 car from day one, but we'll stick with the old 440 thanks :)

If we were in it for the mpg we'd go hunting for our old 318! :lol:


Over at Stu's again today for a couple of hours, just in time to help with final masking then a lot of can-rattling, ready for some primer!! \:D/

Yeah it's a bit amateurish, but the colour's being done by a pro so should end up ok. And it'll certainly be better than it was before :)

Pics are after the 1st coat....
Attachments
DSCF7624 (Large).JPG
DSCF7624 (Large).JPG (88.97 KiB) Viewed 3947 times
DSCF7623 (Large).JPG
DSCF7623 (Large).JPG (95.67 KiB) Viewed 3947 times
DSCF7625 (Large).JPG
DSCF7625 (Large).JPG (87.07 KiB) Viewed 3947 times
DSCF7627 (Large).JPG
DSCF7627 (Large).JPG (78.2 KiB) Viewed 3947 times
Image
User avatar
morgan
Posts: 4229
Joined: Sat Sep 10, 05 7:22 pm
Location: Berkhamsted - Herts.

Post by morgan »

Good work chaps. And no obvious crunchy/bubbly bits. That will look great when painted up - although setting the bar that high you are gonna need all new engine ancills too... :)

Look forward to seeing it at Harpenden :thumbright:
"Cum homine de cane debeo congredi." Woof.

Current Charger status - "Working and awesome" \:D/
User avatar
RobTwin
Posts: 13878
Joined: Thu Nov 24, 05 5:05 pm
Location: just north of Watford

Post by RobTwin »

morgan wrote:Good work chaps. And no obvious crunchy/bubbly bits
No, nothing too crunchy or bubbly, just a bit at the bottom of the rad support. Worst bit was getting thru the 30yr old Hammerite :roll:

morgan wrote:That will look great when painted up - although setting the bar that high you are gonna need all new engine ancills too... :)
That's pretty much how this job has gone all along. It started out as a carb rebuild.... :roll:
morgan wrote:Look forward to seeing it at Harpenden :thumbright:
I wont say it shouldnt take that long in case I put the mockers on it, but...

In any case, we'll prob continue to take a car (or 2, when this is done!) to Luton Hoo & just spectate at Harpenden. Should be done for Brooklands at least, and hopefully at the monthly meet some time before [-o<
Image
User avatar
RobTwin
Posts: 13878
Joined: Thu Nov 24, 05 5:05 pm
Location: just north of Watford

Post by RobTwin »

Well, as of this afternoon, engine bay's painted, and we got a whole bunch of parts to collect from Ron's (STS Imports), which we're gonna do tomorrow.

Pics to follow.... \:D/
Image
User avatar
RobTwin
Posts: 13878
Joined: Thu Nov 24, 05 5:05 pm
Location: just north of Watford

Post by RobTwin »

Better keep this near the top so it doesnt disappear like our Polara thread and all the others :shock:

So here's a bit of an update....

Engine bay was painted last Saturday. Cos we've still got the steering and some of the front suspension removed, we didnt want to have to trailer it somewhere, so Stu found a guy who has his own mobile dent/accident repair business, who was happy to come round and do the top coats with the car as it is, in the garage.
Cos there was no extraction, there's a few bits of fluff'n'stuff settled in the top surfaces, but they'll clean up ok with a bit of compound & elbow grease.

He will have to come back tho, as in the daylight on Sunday we saw a few thin patches, mainly on the bulkhead, so he said he'll come back and redo those.

Image

Image

Image

Image

Image


And on Sunday we collected the parts Ron Fenton (STS Imports) brought in for us, from his place near Braintree, Essex.

Interior bits from Legendary...

Seat covers (front & rear)

Image

Door panels (front & rear)

Image

Rubber floor mats. These are the only ones we could find with the correct 69 (and not the prettier 68) logo...

Image

Alternator from Bouchillon...

Image

Misc bits from Mancini & 440source....

Image

Image

Image

and a few other odds'n'ends.


More to follow, as and when! :)
Image
User avatar
Derek
Posts: 7505
Joined: Sun Apr 18, 04 11:19 pm
Location: Surrey
Contact:

Post by Derek »

Bulkhead area looks good to me, I hope mine comes out like that. I like new bits I do.
Are we there yet dad ..... 10 to the gallon but worth it.

MMA Public Relations Officer.
MMA South London and Surrey Area Rep.
User avatar
RobTwin
Posts: 13878
Joined: Thu Nov 24, 05 5:05 pm
Location: just north of Watford

Post by RobTwin »

I'm sure it will come out looking the dogs danglies Del!

We'll have to compare notes at Brooklands next year (assuming it'll be snowing/raining at Wheels Day again :roll: )
Image
User avatar
steveo
Posts: 3920
Joined: Sat Apr 30, 05 11:16 am
Location: Kent

Post by steveo »

8-) engine bay looks good !! nice lot of goodies too !! christmas come early :thumbright: 8-)
User avatar
RobTwin
Posts: 13878
Joined: Thu Nov 24, 05 5:05 pm
Location: just north of Watford

Post by RobTwin »

Thanks Steve, and as usual, if i want anything decent for Xmas, I have to buy it myself! :roll:

At least Stu & I wont need to exchange pressies this year, after going halves on this little lot :)
Image
User avatar
Adam
Posts: 3431
Joined: Sun Apr 18, 04 11:33 pm
Location: East Sussex

Post by Adam »

Looks great Rob. Those seat covers bring back memories - I had 69 Sport Satellite seats in my 68 Satellite.
User avatar
morgan
Posts: 4229
Joined: Sat Sep 10, 05 7:22 pm
Location: Berkhamsted - Herts.

Post by morgan »

Loving this thread. Although it makes me think I should have been as careful with my own... :)
Good work chaps.
"Cum homine de cane debeo congredi." Woof.

Current Charger status - "Working and awesome" \:D/
User avatar
RobTwin
Posts: 13878
Joined: Thu Nov 24, 05 5:05 pm
Location: just north of Watford

Post by RobTwin »

Well it looked great on the stand today Morgs :thumbright:
Image
User avatar
Scooby
Posts: 2342
Joined: Sun Aug 13, 06 10:11 pm
Location: Sth Bucks...

Post by Scooby »

Great photos guys keep them coming... :thumbright:
At my Worst,I'm at my Best ......
072
User avatar
RobTwin
Posts: 13878
Joined: Thu Nov 24, 05 5:05 pm
Location: just north of Watford

Post by RobTwin »

Bit overdue on an update, but Stuart's been busy evenings & weekends (in between parental duties :binky: ), with the occasional help from me, beavering away at the little odds'n'ends that need doing before the engine can go back in.

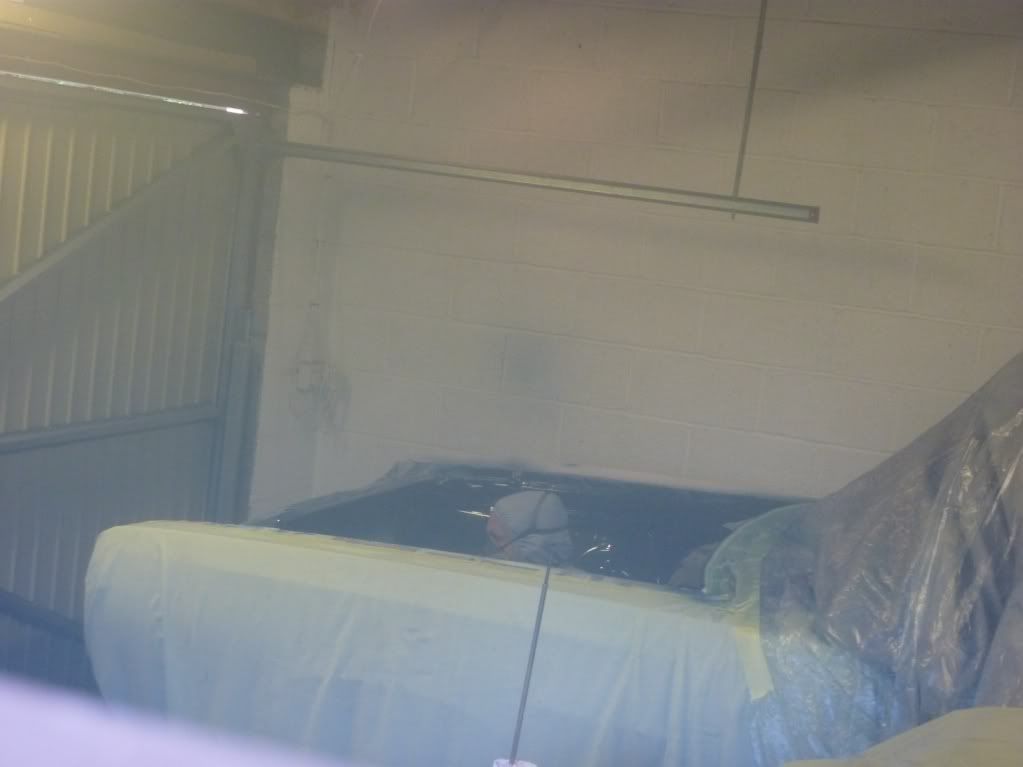
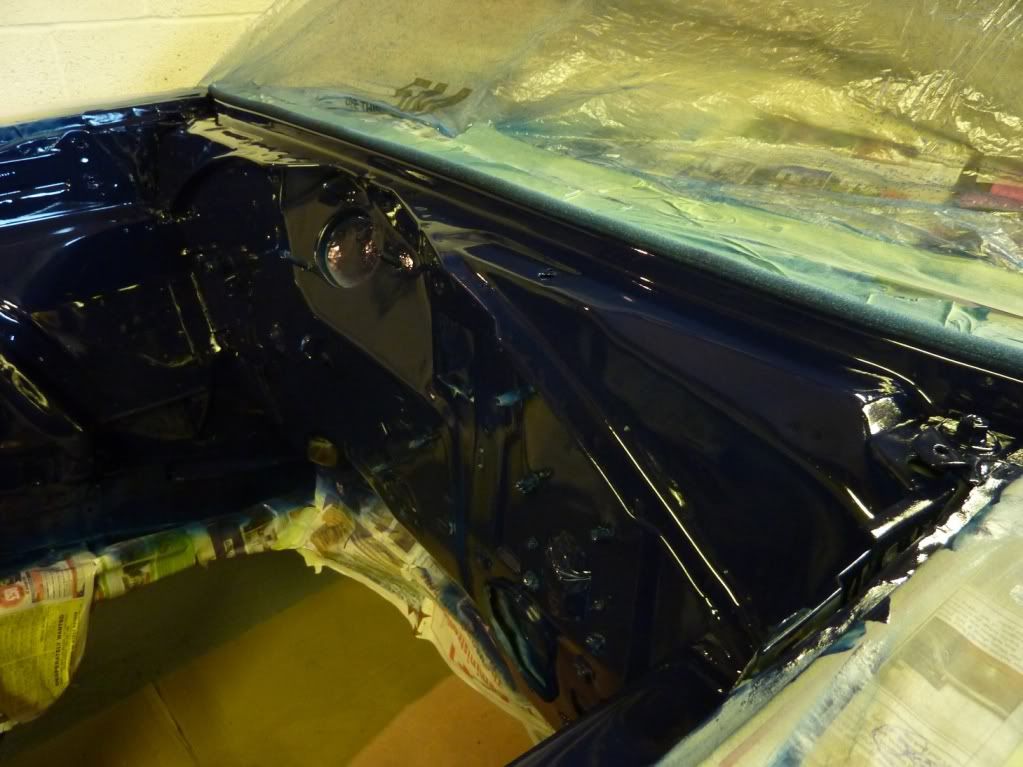
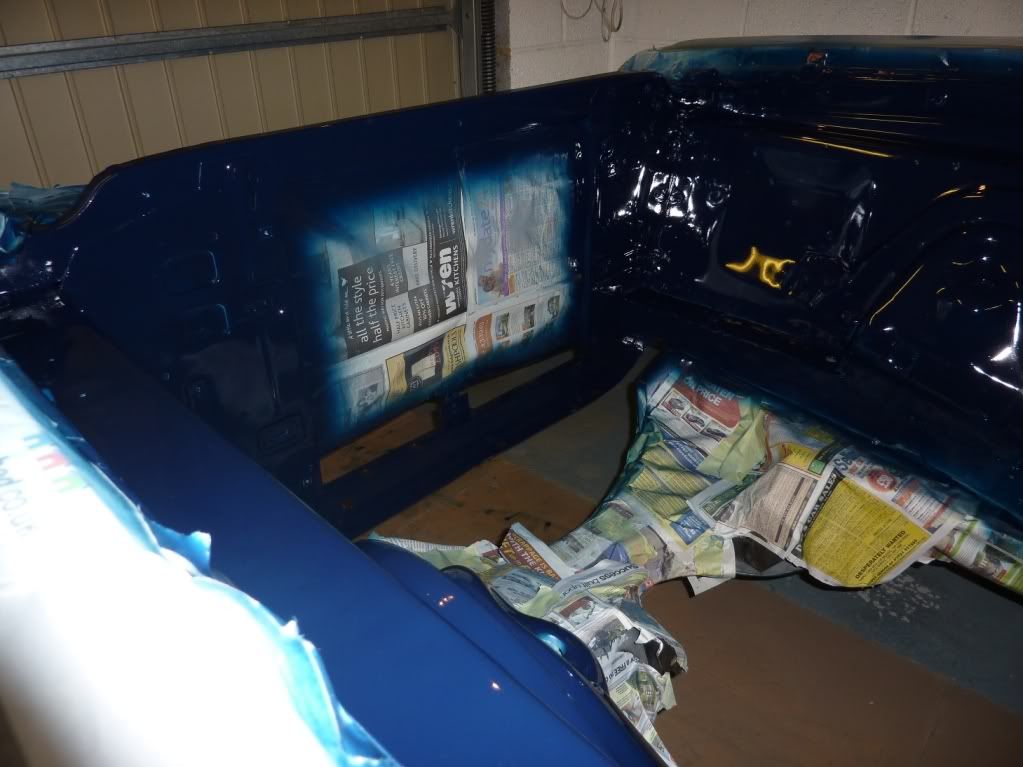
Cheap & convenient it may have been, but the engine bay paint did need a bit of a touch up once the dust had settled (literally :lol: ) and once viewed in daylight.
Trouble is, as the painter-man agreed to do the job in 2-pack, with mask etc but without extraction (his decision), he ended up a bit icky for some time after doing this job, so declined our request for him to come back to fill in the gaps :roll:
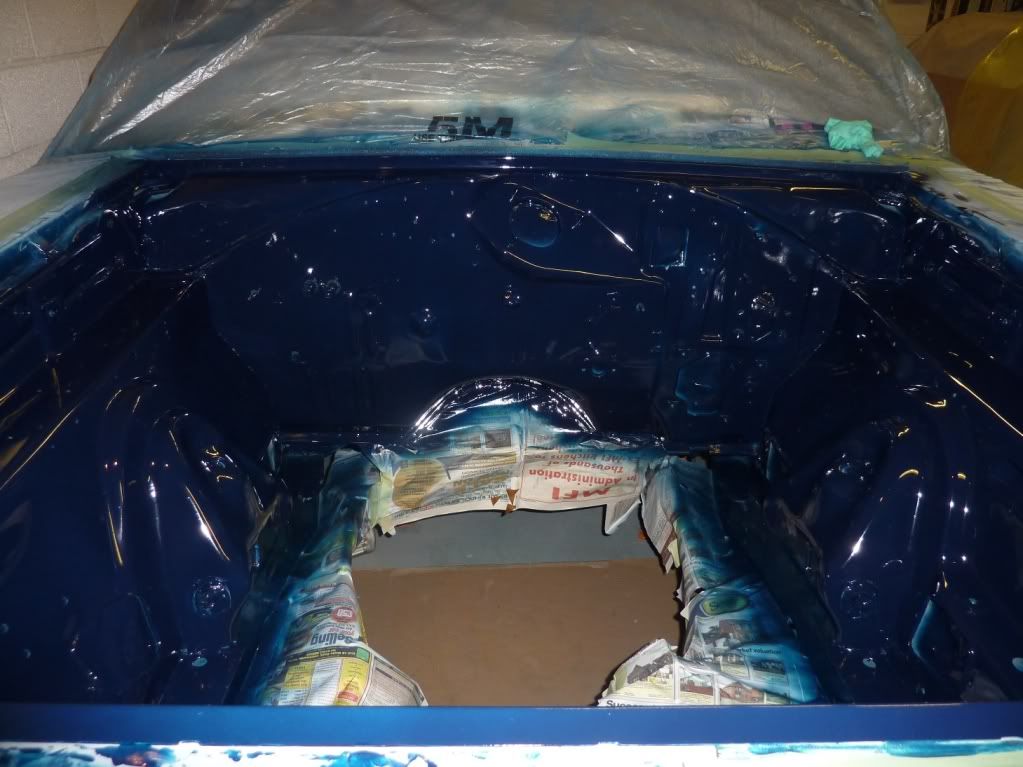
Plus, there was a fair bit of dust & overspray that had settled in the paint, but he did warn us of that. This was rectified with a bit of compound (not too much tho, as he'd left some areas a bit thin) and some additional paint from the aerosols we had made up.
He also took the hinges, battery tray and supports away to spray at his place, but these also need a bit more paint.

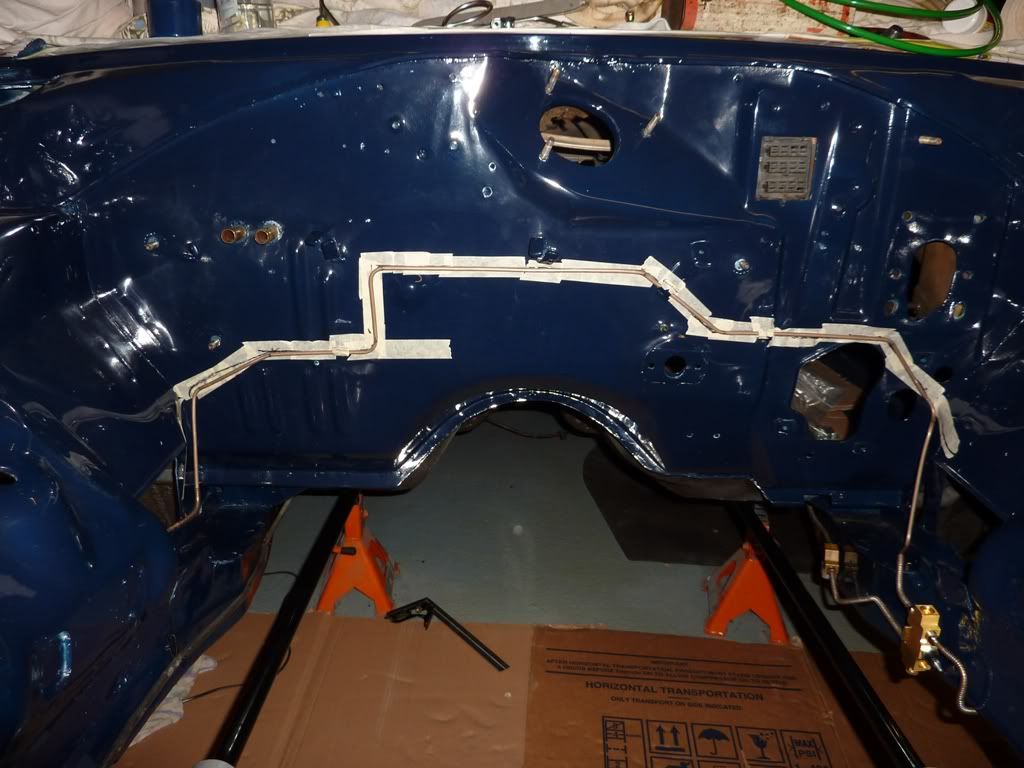
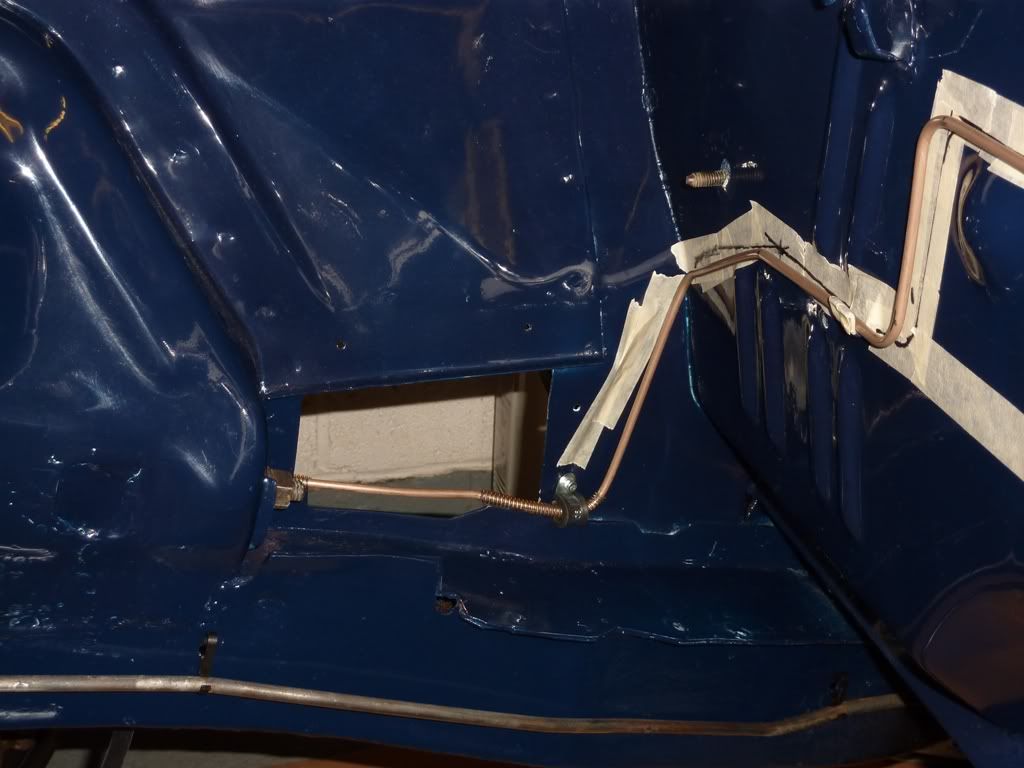
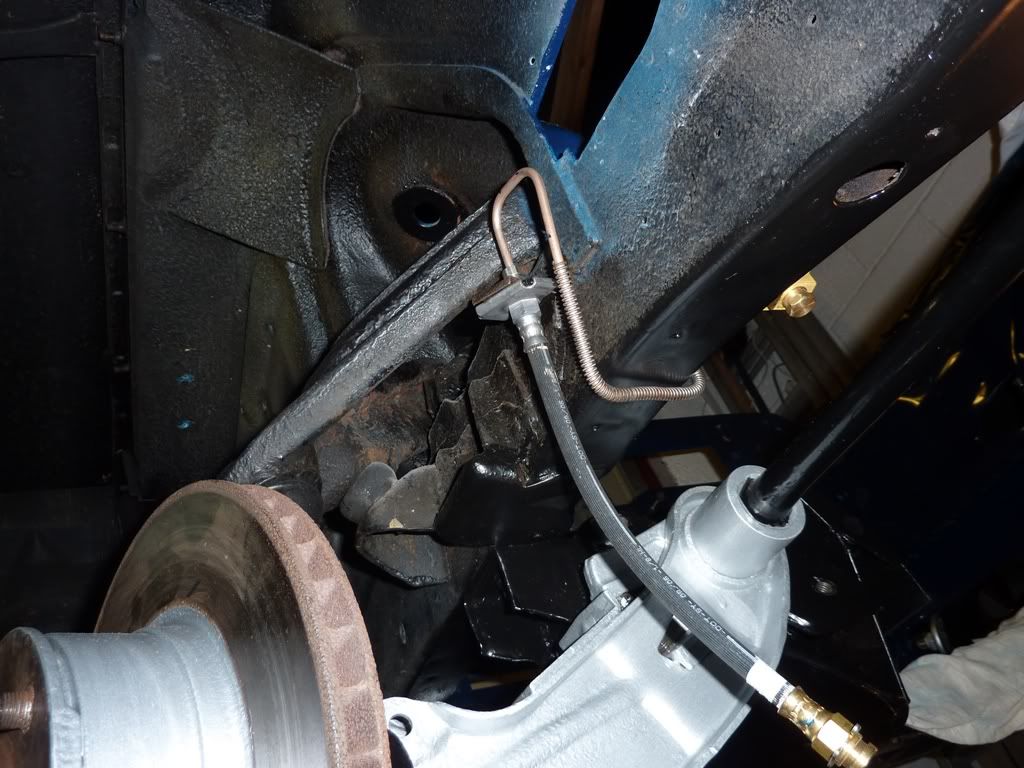
Now the engine bay has been titivated, the next job was to get the brake lines in. We bought some new bits but decided to have a go at making the long one that goes across the bulkhead ourselves (note - most references to 'we', 'our' and 'us' mean Stu :) ).
Bought a cheap(ish) flaring & bending tool at the NEC last Nov just for this, and after a few failed attempts at getting the flares straight, ended up borrowing Blue's proper kit. Thanks Blue :thumbright:


Not bad for a first attempt - well done that man :thumbright: (the masking tape was used as a guide to get the shape)

Image

Image

Image

Image

and hey presto, with tape removed....

Image


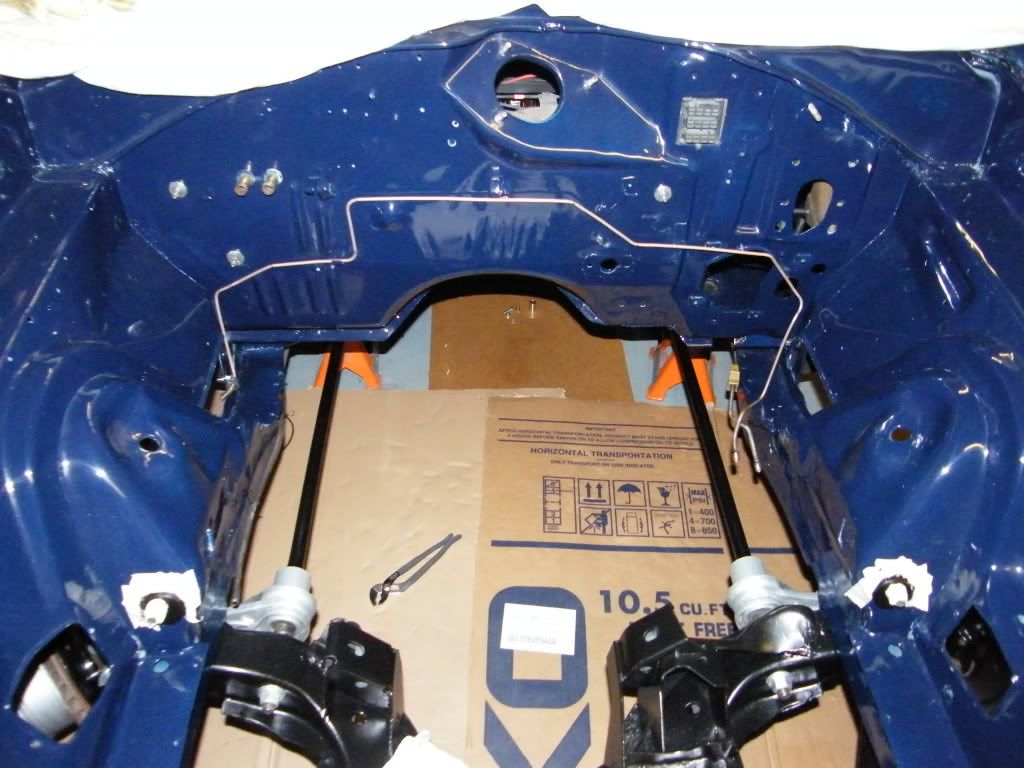
'We' used various pics of original, or near original spec restos to get the route and bends correct, so followed them where poss, but found that the original pipe was routed diagonally across the 2x access holes in the inner wings, so re-routed it around those holes. Still got to finish painting the brake booster, so will get the other lines finished when that and the master cylinder are back on.

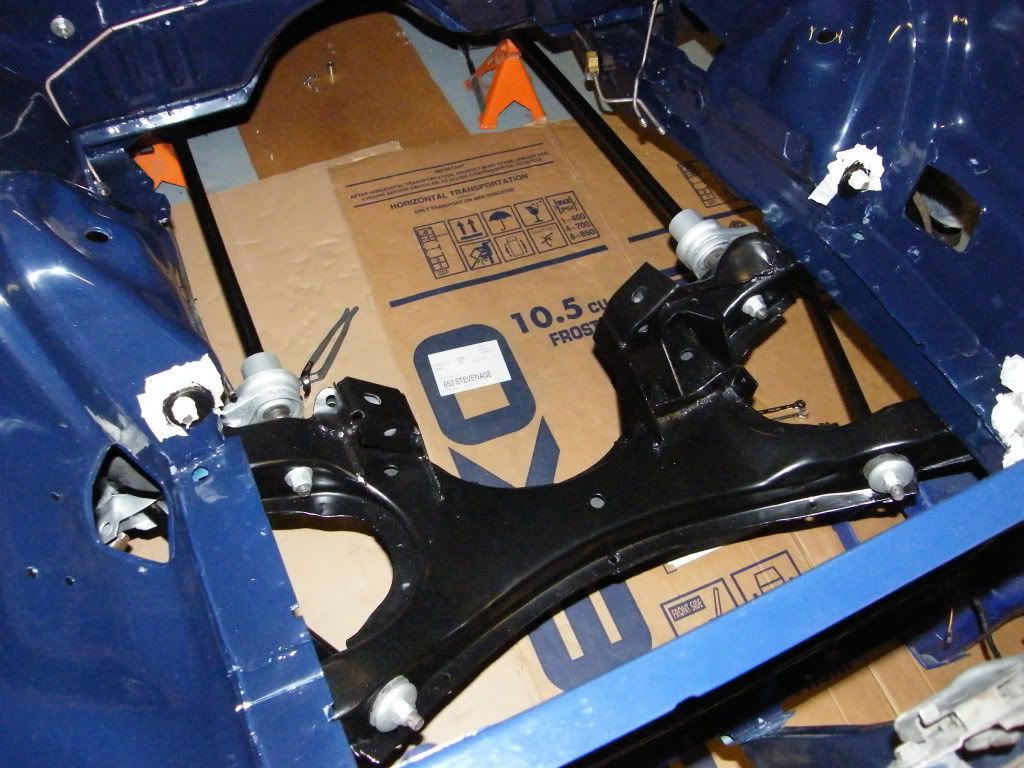
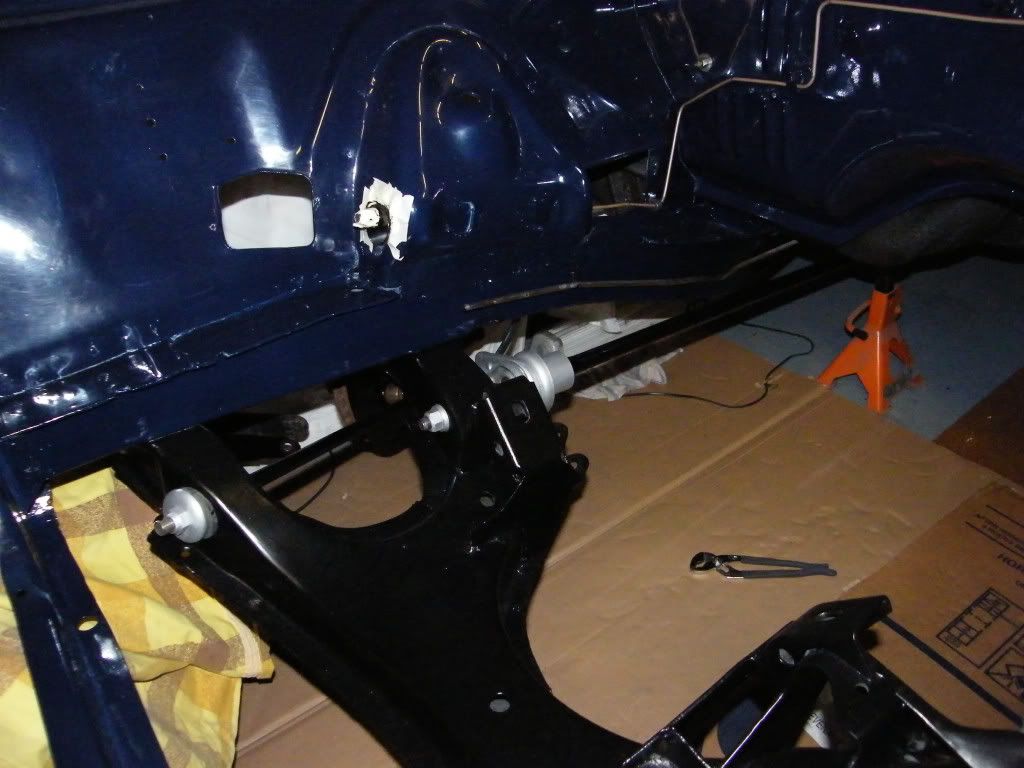
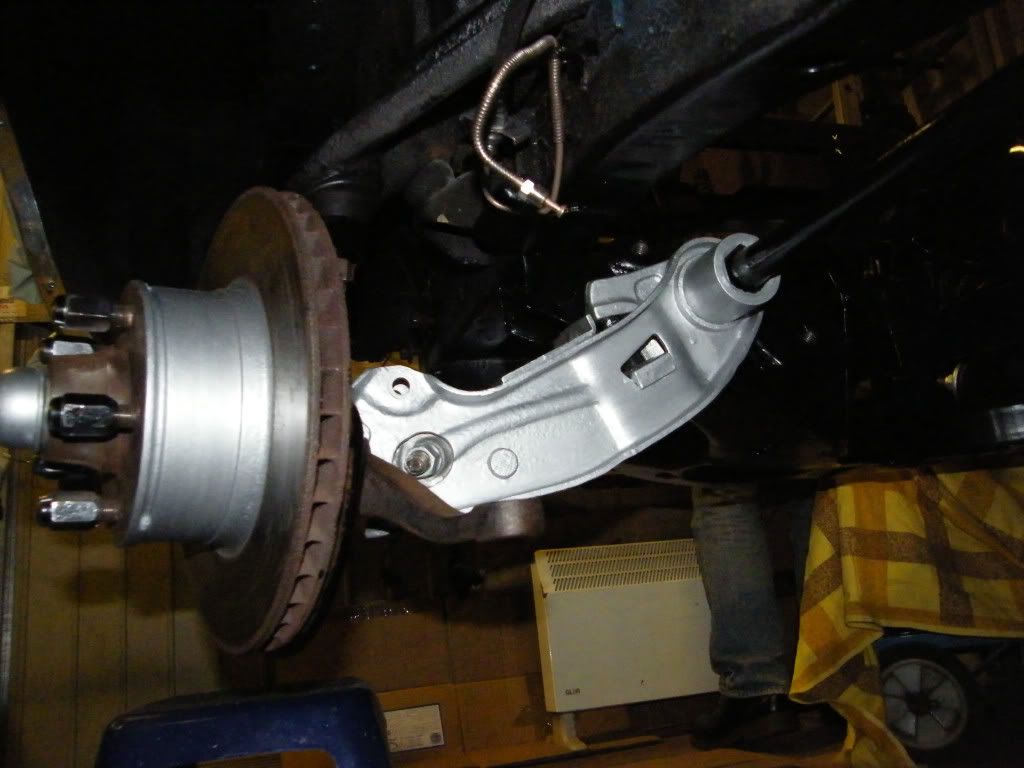
We've also given the front suspension a fresh lick of paint. Could have gone the replating route, but didnt completely disassemble the front end, so decided just to go with paint. Some parts are still to be replaced with new, so havent painted them (hence the rusty bits still fitted ;) ).

Image

Image

Image

Image


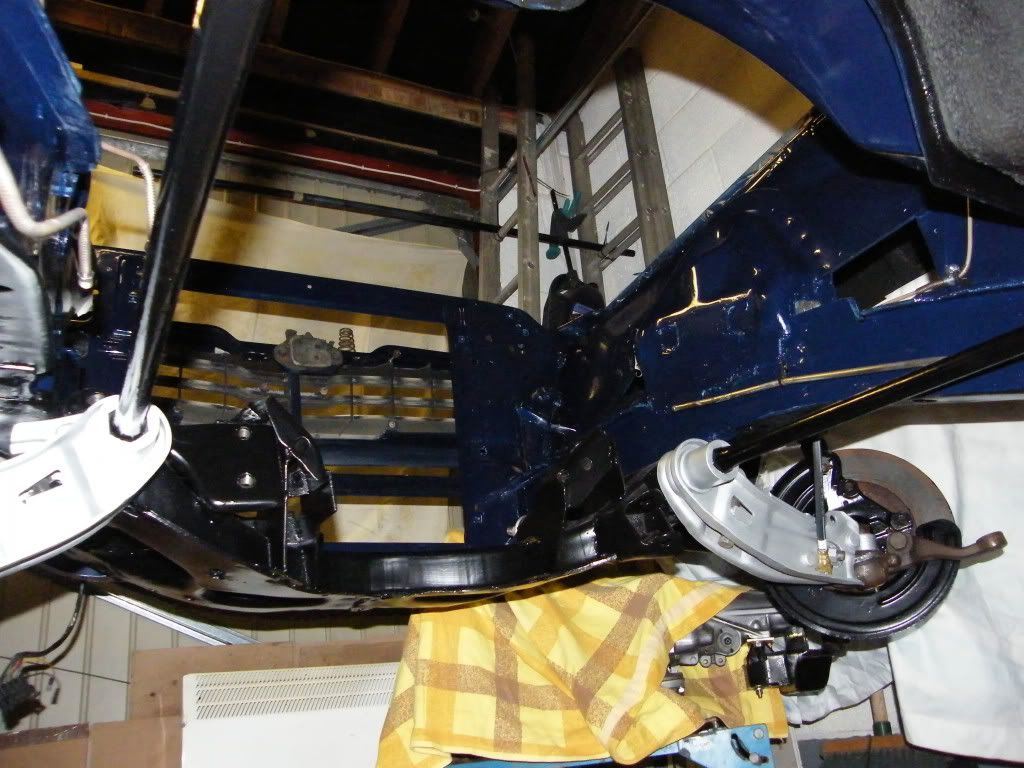
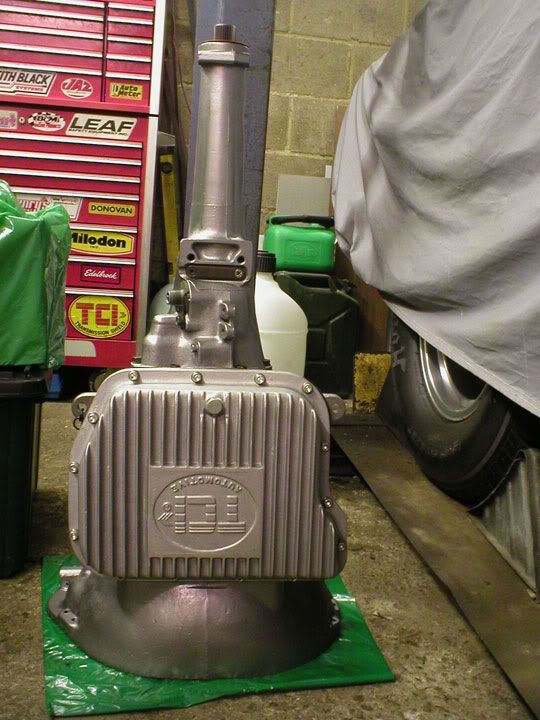
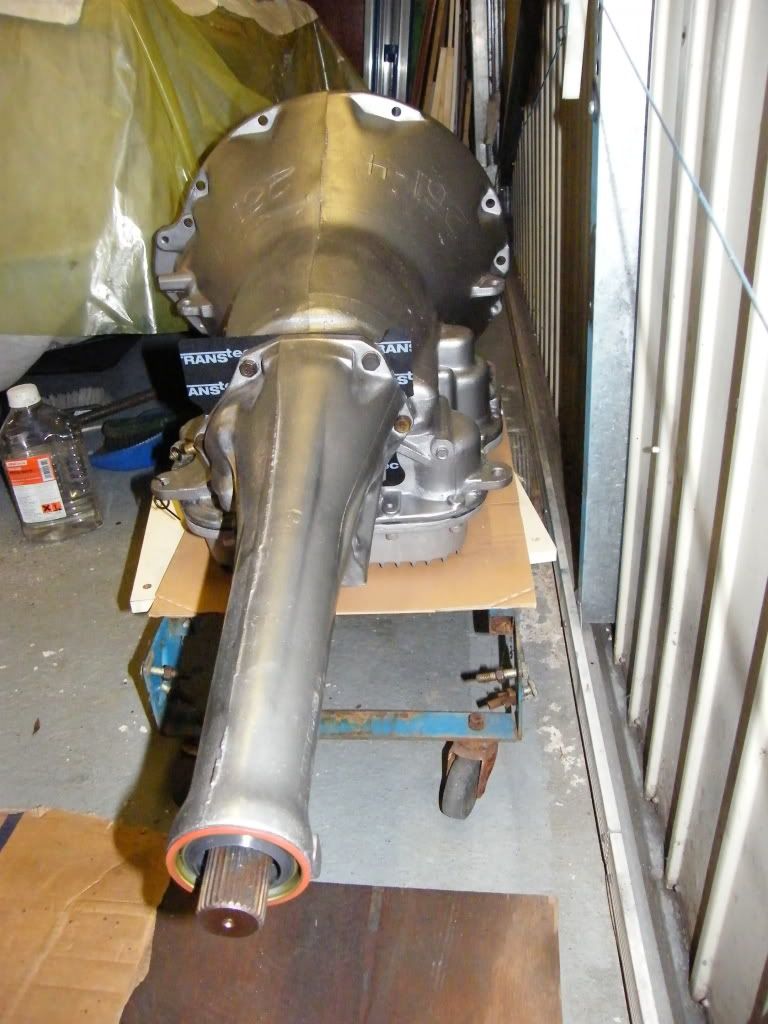
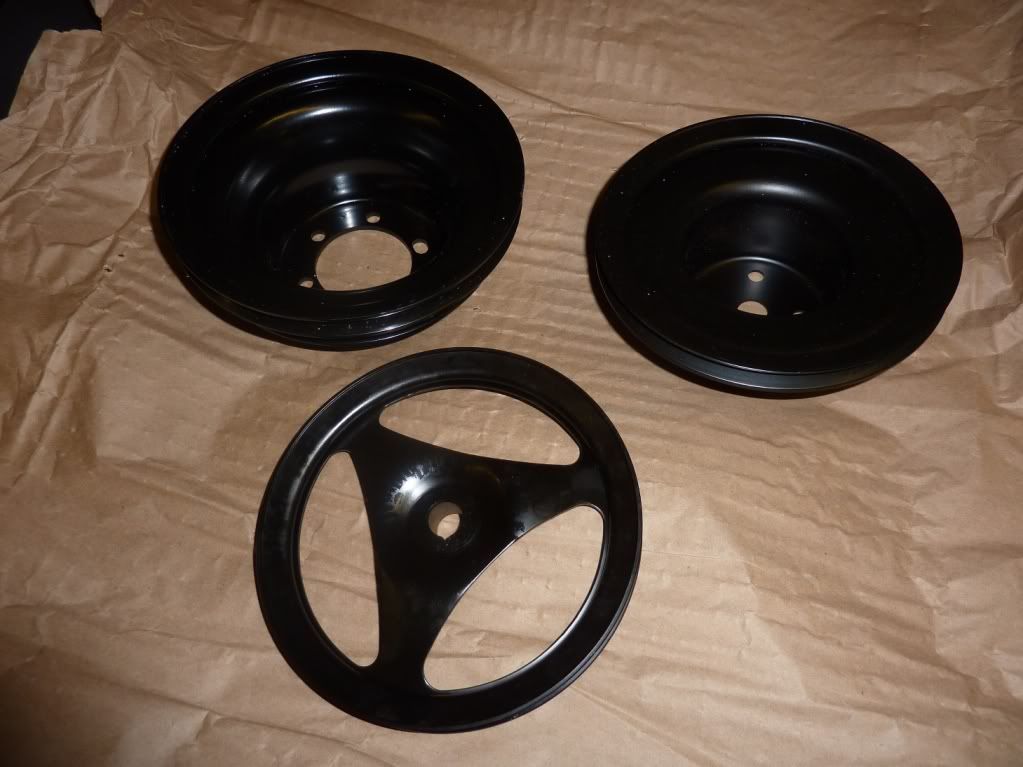
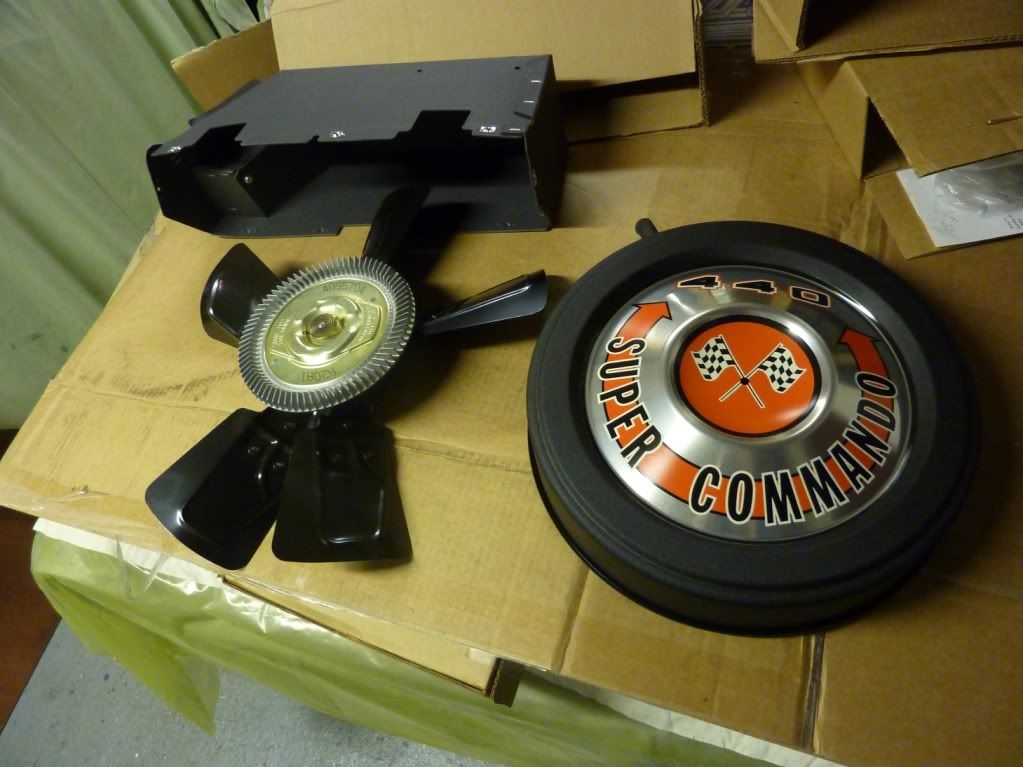
Rebuilt spic'n'span trans, courtesy of that man Blue again :salute:

Image

Image

Image
Last edited by RobTwin on Tue Jan 11, 11 1:43 am, edited 1 time in total.
Image
Post Reply